Facebook is one of the most popular and earliest social media websites with millions of users around the world.
With a Facebook subscription, you can connect with old friends, make new ones, write posts about your daily routine, have conversations, or even sell and buy anything you like through their group and community features.
If you no longer have time to use Facebook or want to take a break from it, you can easily do so. There are two ways to cancel your Facebook subscription: you can deactivate or permanently delete your account.
Follow these simple steps to deactivate or cancel your Facebook account
Creating a Facebook account and using it is mostly free unless you pay for advertising with them as a business or an individual.
With a temporary deactivation, you can:
- Hide your profile from others, including your friends on the account.
- Stop receiving notifications about any friend’s activities.
- Retain all your previous data, but do not create any new ones.
- Still, use Messenger to communicate with people.
- Use your Facebook login for apps like Spotify, Games, etc.
- Come back to your account as you left it whenever you want to.
As of April 2023, these are the steps to follow to deactivate Facebook on a computer or web browser:
- Log in to Facebook from a computer.
- Click your profile picture in the top right corner
- Select “Settings and privacy”, click “Settings”.
- Choose “Privacy”, then click “Your Facebook information”.
- Choose “Deactivation and deletion”.
- Choose “Deactivate Account”, then, select “Continue to Account Deactivation” and follow the instructions to confirm.
On the Facebook mobile app:
- Tap the three lines in the top right corner.
- Tap “Settings and privacy”, then “Settings”.
- Select “Personal and account information”.
- Go to “Account ownership and control”.
- Then choose “Deactivation and deletion”.
- Tap “Deactivate account”, then tap “Continue to account deactivation”.
- Follow the rest of the prompts to confirm.
When you permanently delete your account, all of your Facebook data and any information and activity associated with Facebook are also permanently deleted.
You cannot get back the information stored on your Facebook account after you delete your account unless you cancel the deletion within 30 days.
Follow these steps to cancel your account.
- Log in to Facebook on your computer and click your profile picture in the top right corner.
- Select “Settings and privacy”, then click “Settings”.
- Go to “Your Facebook information”.
- Select “Deactivation and deletion”.
- Choose “Delete account”, then, “Continue to account deletion”.
- Click “Delete Account”. You need to enter your password for confirmation. Click “Continue” to finish the process.
You can find other information about your Facebook account and data on this page.
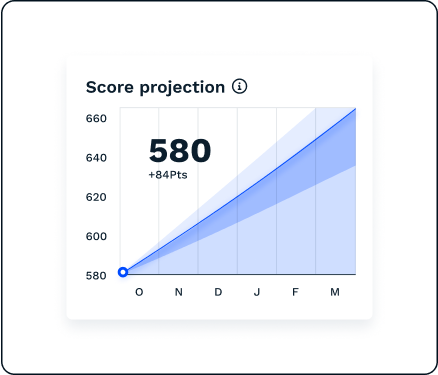
You can get all the information you need to cancel your Facebook subscription on this page. StellarFi can help you strengthen your credit score by paying your Facebook bills on time.
This is how your Facebook charges may appear on your bank statement
| FACEBOOK 4029357733 | FACEBOOK ADVERTISING USA |
| FACEBK *4JM7LH23H2, FB.ME/ADS IE | FACEBOOK PAYMENTS INTERNATIONAL LIMITED |
| FACEBOOK PAYMENTS INTERNATIONAL LIMITED | PAYPAL INST XFER FACEBOOK WEB ID: PAYPALSI77 |
| PAYPAL INST XFER FACEBOOK | PAYPAL INST XFER FACEBOOKINC |
| PP*FACEBOOK 402-935-7733 CA | PAYPAL INST XFER FACEBOOKINC WEB ID: PAYPALSI77 |
| PaymentTo Facebook | Payment To Facebook |
| WWW.FB.ME/ADS CA |
Why use StellarFi for all your billing needs?
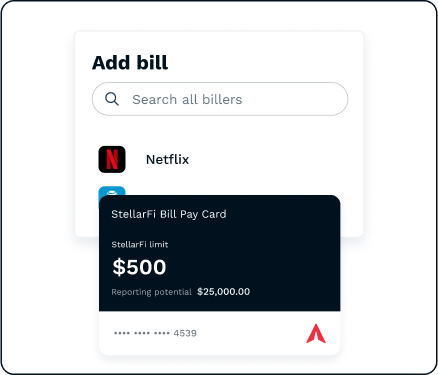
One alternative to canceling your Facebook subscription is to automate your payments with StellarFi. With StellarFi, you no longer have to worry about remembering to pay your bills! Just link all of your regular payments to the StellarFi Virtual Bill Pay Card and watch your credit score grow. Plus, you’ll get $5 in StellarFi credit for every friend you refer to StellarFi.


